Tutorial: Use a SageMaker AI notebook with your development endpoint
In AWS Glue, you can create a development endpoint and then create a SageMaker AI notebook to help develop your ETL and machine learning scripts. A SageMaker AI notebook is a fully managed machine learning compute instance running the Jupyter Notebook application.
-
In the AWS Glue console, choose Dev endpoints to navigate to the development endpoints list.
-
Select the check box next to the name of a development endpoint that you want to use, and on the Action menu, choose Create SageMaker notebook.
-
Fill out the Create and configure a notebook page as follows:
-
Enter a notebook name.
-
Under Attach to development endpoint, verify the development endpoint.
-
Create or choose an AWS Identity and Access Management (IAM) role.
Creating a role is recommended. If you use an existing role, ensure that it has the required permissions. For more information, see Step 6: Create an IAM policy for SageMaker AI notebooks.
-
(Optional) Choose a VPC, a subnet, and one or more security groups.
-
(Optional) Choose an AWS Key Management Service encryption key.
-
(Optional) Add tags for the notebook instance.
-
-
Choose Create notebook. On the Notebooks page, choose the refresh icon at the upper right, and continue until the Status shows
Ready. -
Select the check box next to the new notebook name, and then choose Open notebook.
-
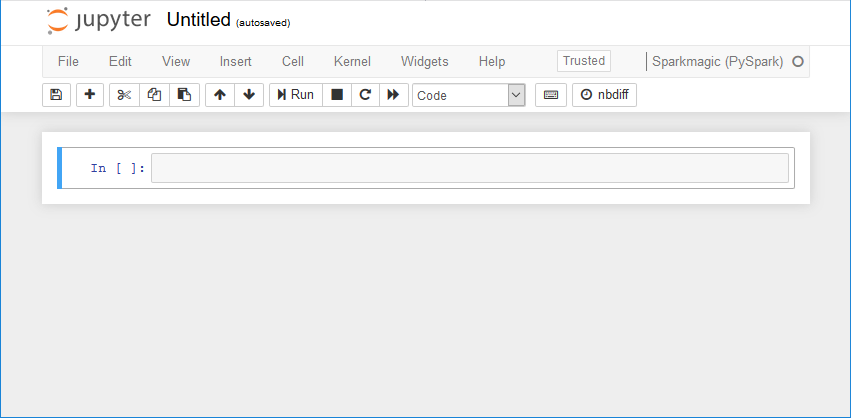
Create a new notebook: On the jupyter page, choose New, and then choose Sparkmagic (PySpark).
Your screen should now look like the following:

-
(Optional) At the top of the page, choose Untitled, and give the notebook a name.
-
To start a Spark application, enter the following command into the notebook, and then in the toolbar, choose Run.
sparkAfter a short delay, you should see the following response:

-
Create a dynamic frame and run a query against it: Copy, paste, and run the following code, which outputs the count and schema of the
persons_jsontable.import sys from pyspark.context import SparkContext from awsglue.context import GlueContext from awsglue.transforms import * glueContext = GlueContext(SparkContext.getOrCreate()) persons_DyF = glueContext.create_dynamic_frame.from_catalog(database="legislators", table_name="persons_json") print ("Count: ", persons_DyF.count()) persons_DyF.printSchema()