Enable forecasting & agent scheduling in Connect Customer
You must enable forecasting & agent scheduling at the Connect Customer instance level. After you enable forecasting & agent scheduling, it might take up to 24 hours for the feature to be available for use in your AWS account.
-
Log in to the AWS Management Console
using your AWS account. -
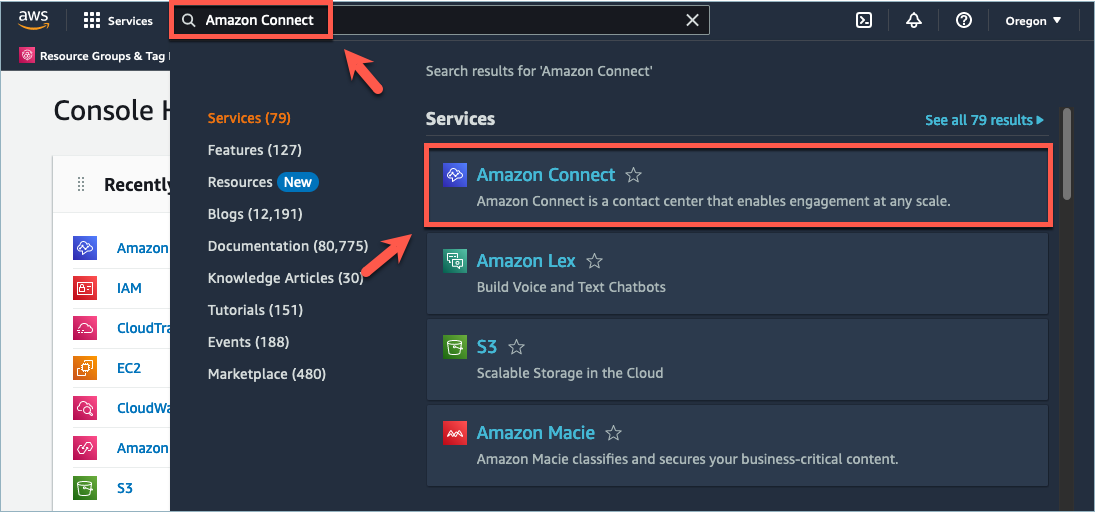
In the AWS Management Console, at the top of the page in the search bar, type Connect Customer and then choose Connect Customer.This is shown in the following image.
-
On the Connect Customer virtual contact center instances page, choose the Instance alias where you want to enable forecasting & agent scheduling.

-
In the navigation pane, choose Forecasting & agent scheduling.

-
On the Forecasting & agent scheduling page, select the check box to enable forecasting & agent scheduling.

-
The status changes to In progress, as shown in the following image.

-
Within 24 hours the status will change to Enabled and forecasting & agent scheduling will be ready to use.

