Set up your Amazon Connect instance
You can have multiple instances of Amazon Connect. Each instance contains all the resources related to your contact center, such as phone numbers, agent accounts, and queues.
In this tutorial, you open Amazon Connect, create an instance of Amazon Connect, and claim a phone number that you can use for testing.
Contents
Step 1: Launch Amazon Connect
This step walks you through finding Amazon Connect in the AWS console, and opening the Amazon Connect console.
-
Log in to the AWS Management Console
(https://console.aws.amazon.com/console) using your AWS account. -
In the AWS Management Console, at the top of the page, choose the Services drop-down menu.

-
In the search box, type Amazon Connect.

-
Choose Amazon Connect.
If this is the first time you've been to the Amazon Connect console, you'll see the following Welcome page.

-
Choose Get started.
Congratulations! You found and accessed Amazon Connect. You can use these same steps to search for and launch any AWS service.
Go to Step 2: Create an instance.
Step 2: Create an instance
-
On the Amazon Connect virtual contact center instances page, choose Add an instance.
-
On the Set identity page, in the Access URL box, type a unique name for your instance. For example, the following image shows mytest10089 as a name. Choose a different name for your instance. Then choose Next.

-
On the Add administrator page, add a new administrator account for Amazon Connect. Use this account to log in to your instance later using the unique access URL. Choose Next.

-
The user name will be your Amazon Connect login. It's case sensitive.
-
The password must be between 8-64 characters, and must contain at least one uppercase letter, one lowercase letter, and one number.
-
-
On the Set telephony page, accept the default settings to allow incoming and outgoing calls. Choose Next.

-
On the Data storage page, accept the default settings and choose Next.

-
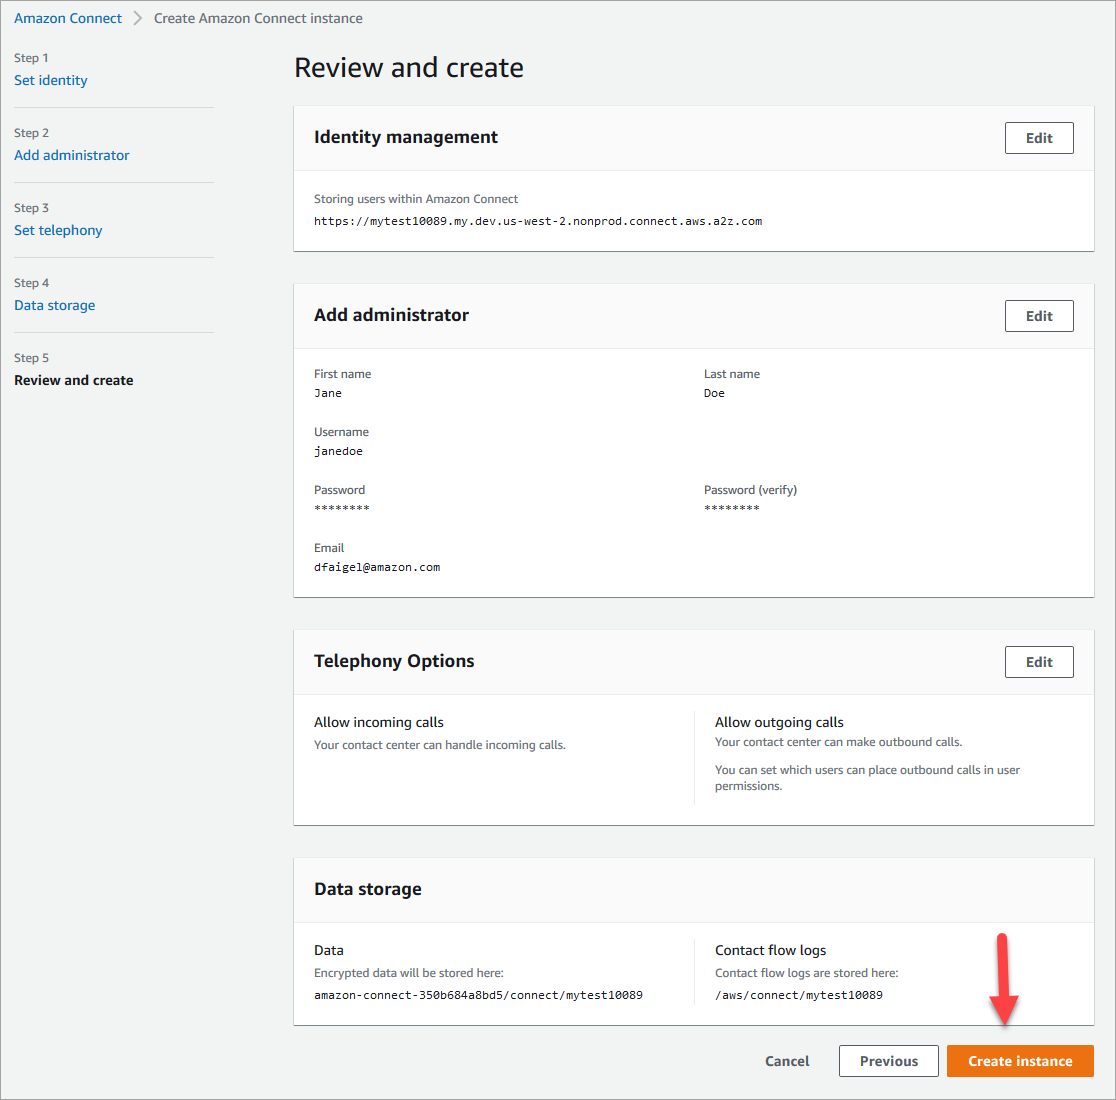
On the Review and create page, choose Create instance.

-
After the instance is created, choose Get started.

-
On the Welcome to Amazon Connect page, choose Skip for now.

-
You're now on the Amazon Connect dashboard. Your instance name (also called an alias) displays in the URL. On the left is the navigation menu.

-
Your instance alias is located in the first part of the URL.
-
The navigation menu.
-
Congratulations! You set up your instance and now you're on the Amazon Connect dashboard. Go to Step 3: Claim a phone number for your instance.
Step 3: Claim a phone number for your instance
In this step, you set up a phone number so that you can experiment with Amazon Connect.
-
On the Amazon Connect navigation menu, choose Channels, Phone numbers.

-
On the right side of the Manage Phone numbers page, choose Claim a number.

-
Select the DID (Direct Inward Dialing) tab. Use the drop-down arrow to choose your country/region. If you're in the US, you can specify the area code you want for your number, and only available numbers with that area code will be displayed. When numbers are returned, choose one.

-
Write down the phone number. You call it later in this tutorial.
-
In the Description box, type this note: this number is for testing.

-
In the Flow / IVR box, choose the drop-down arrow, and then choose Sample inbound flow (first contact experience).
-
Choose Save.
Congratulations! You set up your instance and claimed a phone number. Now you're ready to experience how chat and voice work in Amazon Connect. Go to Test the sample voice and chat experience in Amazon Connect.