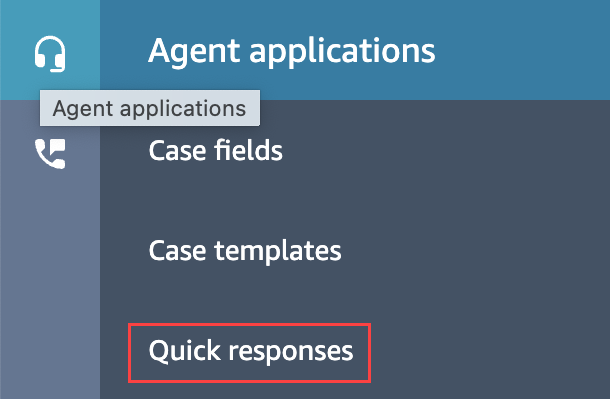
You can import a maximum of 100 quick responses at a time from a .csv file. This topic explains how to use the Amazon Connect admin website to import quick responses. To import quick responses programmatically, see StartImportJob in the Amazon Q in Connect API Reference.
To import responses
-
Log in to the Amazon Connect admin website at https://instance name.my.connect.aws/. Use an Admin account, or an account assigned to a security profile that has Content Management - Quick responses - Create permission.
-
On the navigation bar, choose Content Management, then Quick responses.

-
On the Quick responses page, choose Import.
-
In the Import dialog box, choose the Responses Import Template.csv link, then save the resulting Response Import Template.csv file to your desktop. The file opens in Microsoft Excel or a similar spreadsheet program.
-
In the .csv file, enter values in each column. Remember the following:
-
The Name and Shortcut key values must be unique across all the quick responses in your Amazon Connect instance.
-
Values in the Routing Profile column are case sensitive and must match the name of your routing profile exactly.
-
Do not rename or change the values in the first row of the .csv file. Those header keys are reserved and used to generate payloads for the CreateQuickResponse API.
-
Remove all instances of <*Required field> from the .csv file. They're only for information.
-
-
Save the .csv file, return to the Amazon Connect admin website, and in the Import dialog box, choose Upload file.
-
Locate and open the .csv file, then choose Import.
Success or failure messages appear when the import operation finishes. If the operation fails, choose the Download failed imports link in the message. Check the .csv file for leading or trailing spaces, and for any messages about the error.
You can navigate away from the Quick response page before the import job finishes. Choose the View import history link, located below the list of responses, to view status of your import jobs.